
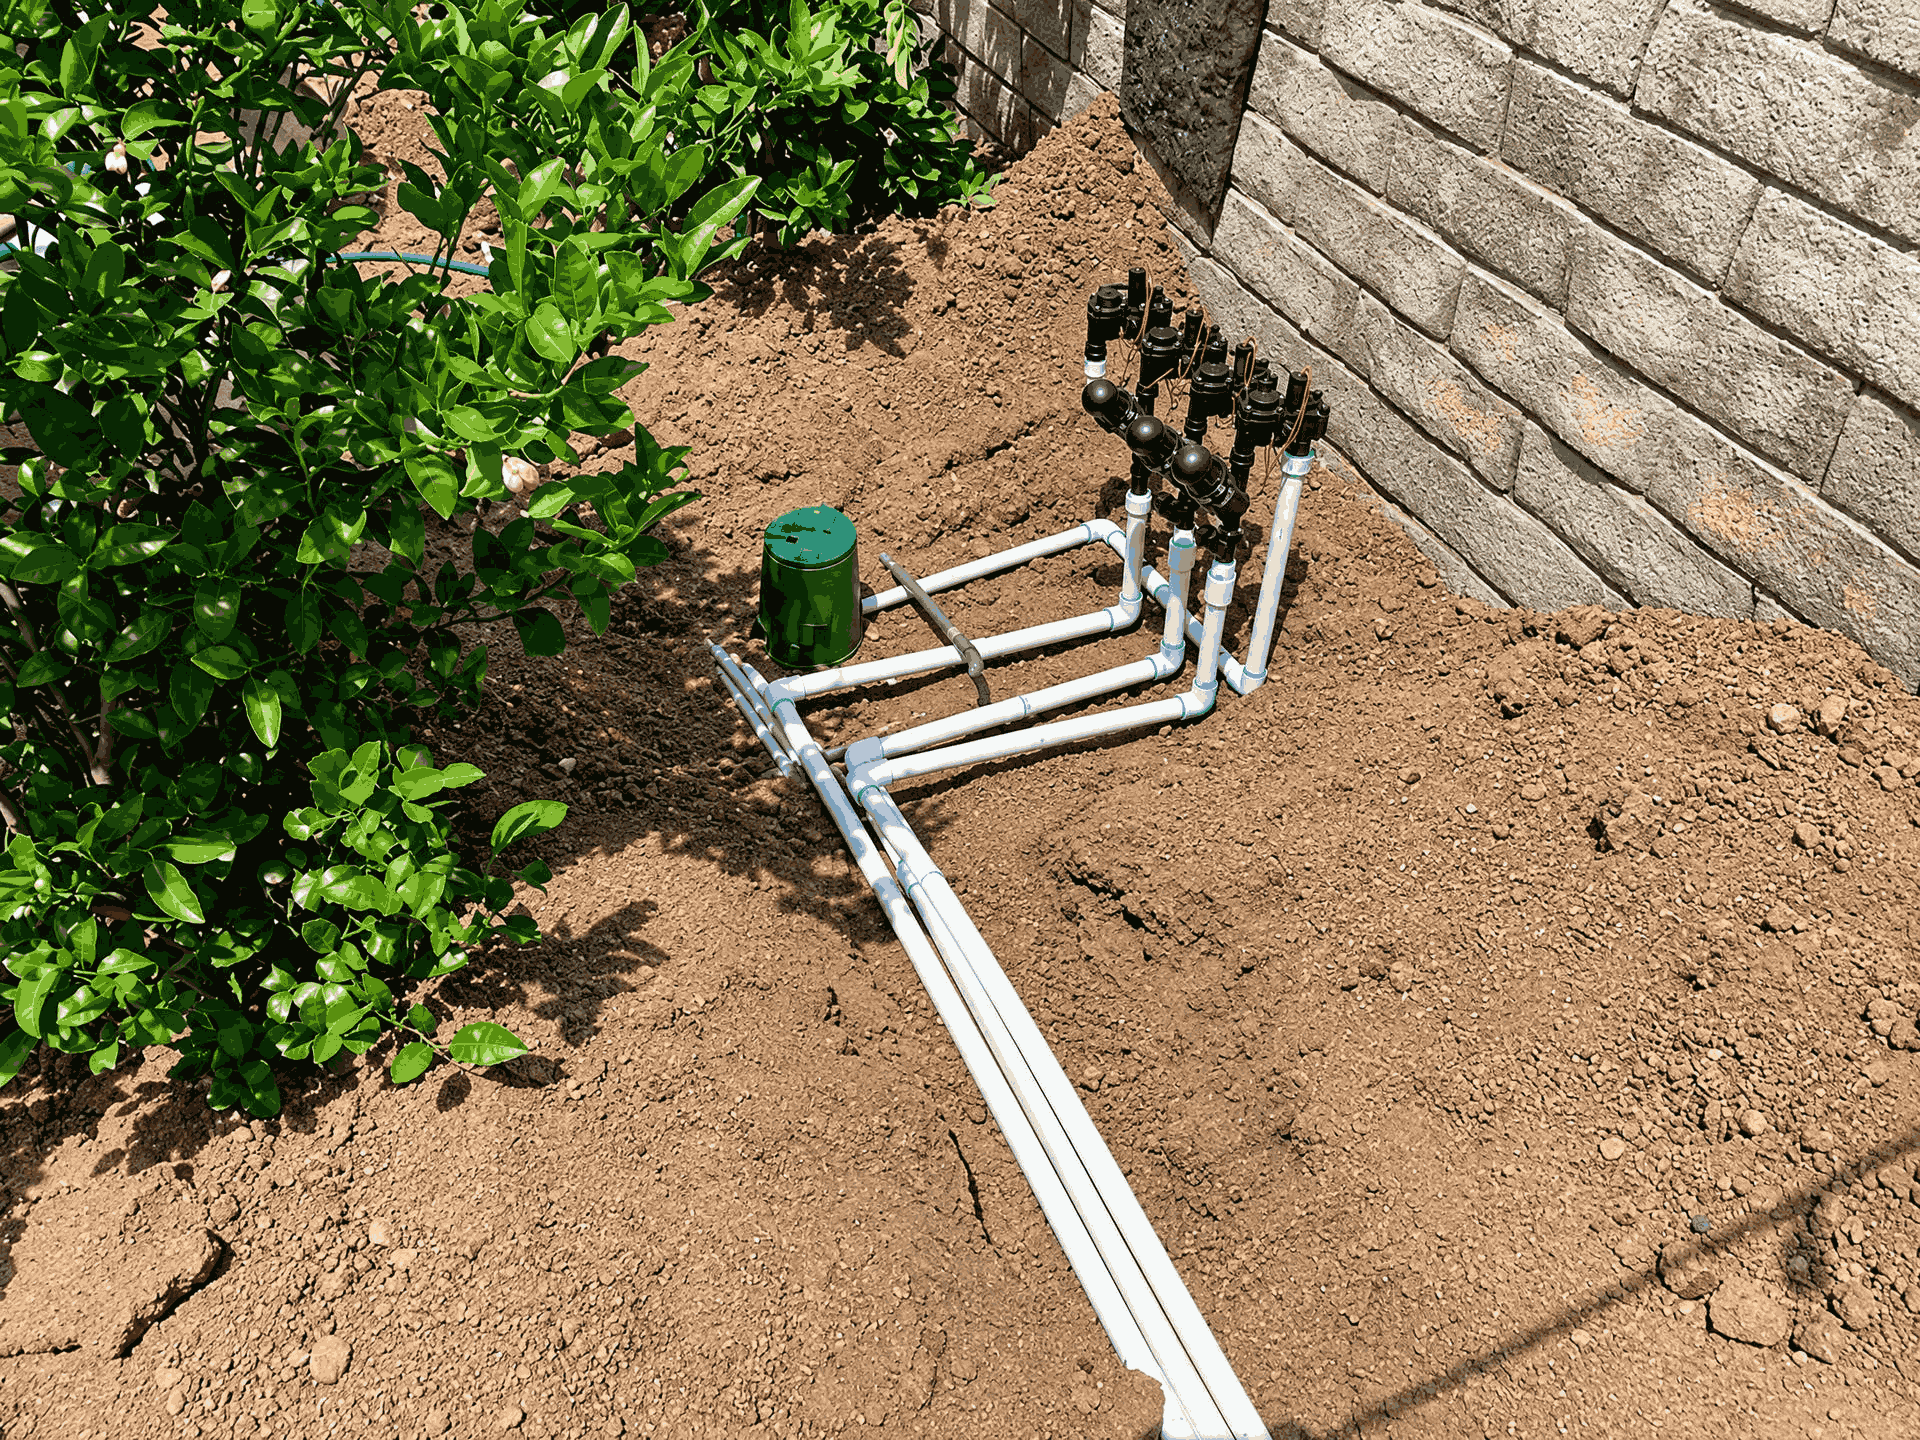
A sprinkler problem can show up as a dry strip of lawn, a muddy patch, water on the pavement, or a zone that keeps running after the controller shuts off. These symptoms can have different causes, so the first step is to note where the water appears and when the problem happens.
Leafs-U-Green provides residential sprinkler and irrigation repair in Lancaster and nearby communities. A focused inspection can help identify whether the issue calls for an adjustment, a component repair, or a broader system assessment.
Start by observing the affected zone
If it is safe to do so, run the affected zone and note which heads pop up, whether rotors turn, where the spray lands, and whether water pools around heads, pipes, or valves. Check the area again after the zone shuts off. These observations can help distinguish a coverage problem from a leak or normal drainage.
The U.S. EPA WaterSense Sprinkler Spruce-Up checklist recommends checking for tilted or broken heads, directing spray toward the landscape, and confirming that neighboring sprinklers provide overlapping coverage. Water hitting a driveway, sidewalk, or wall is not watering the intended area.
Why does a sprinkler system leave dry spots?
A dry spot does not automatically mean the lawn needs more watering time. A nozzle may be clogged, a rotor may not be turning, a head may be tilted or partly buried, or the spray may no longer reach the neighboring sprinkler. Low pressure or a change in the landscape can also affect coverage.
The Colorado State University Extension guide to home irrigation lists poor coverage, low pressure, plugged nozzles, and failing rotors among possible causes of dry areas. These are general diagnostic examples; the right explanation depends on the system and site.
Before increasing the schedule, check whether the heads are working and the water is reaching the dry area. If runoff starts before the soil absorbs the water, the EPA recommends using shorter watering intervals with pauses between them. For broader troubleshooting examples, see Leafs-U-Green’s guide to common residential irrigation problems.
Why does a sprinkler head leak after the zone shuts off?
A low sprinkler head can drain water remaining in the lateral line after a zone stops. This low-head drainage should stop once the line drains. It can leave a wet spot near the lowest head without indicating that the valve has failed.
Water that continues to pass through a zone after it should be off may point to a valve that is not closing fully. Hunter Industries notes that debris caught in a valve can prevent it from closing; a damaged diaphragm can also be a cause. An underground leak or damaged fitting is another possibility. Because these symptoms can look alike, a wet patch alone is not enough to identify which part needs repair. See Hunter’s guidance on valves that leak when off and valves that do not close.
If an area stays wet when the system has not been running, or you hear water moving while the controller is off, share that detail with the repair professional. Leafs-U-Green also explains signs of persistent moisture in its article on sprinkler zones that stay wet and hidden leaks.
What should a sprinkler repair assessment check?
A useful assessment should look beyond the wet or dry spot. It may include running the affected zone, inspecting heads and nozzles, checking whether the valve shuts off, looking for leaks near pipes and fittings, and comparing coverage with nearby heads. If several zones have weak spray, pressure or flow may also need attention.
Site conditions matter. Slopes, planting changes, shade, foot traffic, and altered lawn edges can change how water should be applied. Before the visit, note which zone is affected, whether the problem occurs during watering or between cycles, when it began, and whether the controller or landscape changed recently. A photo or short video of the zone running may help explain the symptom. Avoid digging near a suspected underground line until utility locations are known.
Should you repair or replace the system?
A single broken head, clogged nozzle, or isolated valve problem may be resolved with a targeted repair. Repeated leaks, several failing zones, widespread poor coverage, or components that no longer suit the yard may call for a broader evaluation.
There is no reliable flat price for every sprinkler repair. The cost depends on factors such as access, parts, the number of zones involved, whether a line is buried, and what testing is needed. Ask what was found, which repair is recommended, what the estimate includes, and what to check after the system is turned back on. Leafs-U-Green says it explains repair options before work begins and advertises free estimates through its sprinkler and irrigation service page.
What should you check after the repair?
Run the affected zone and check the repaired area and nearby heads. Confirm that water reaches the intended planting area without persistent spray onto pavement. After shutoff, watch whether any residual drainage stops. If the controller settings changed, ask which settings were adjusted and why; a component repair does not necessarily set a new seasonal schedule for every zone.
For local watering advice, check the City of Lancaster’s water-conservation guidance for current information rather than relying on a schedule copied from another city or season. Leafs-U-Green’s Lancaster service-area page has local service information.